How I created the models for my Asteroids clone
I wanted to create the artwork for a game from scratch. The following is how I did it in Blender.
Procedurally generated asteroids
Instead of modeling individual asteroids repeatedly, I saved time by generating them procedurally and tweaking the inputs until I found something I liked. I used a chain of Geometry Nodes to produce the asteroids. In order, these were
- Node to create an icosphere that was distorted into a random, less spherical shape. This is the base for the asteroid.
- A node that created random craters.
- A repeat of the random craters node to apply more craters of a smaller size.
Nodes for random asteroid shape
I used an Ico Sphere node to start with a round shape and then used a noise texture to offset the vertices into random locations to produce a random, yet natural-looking shape. Here's what the final Geometry Nodes ended up looking like:
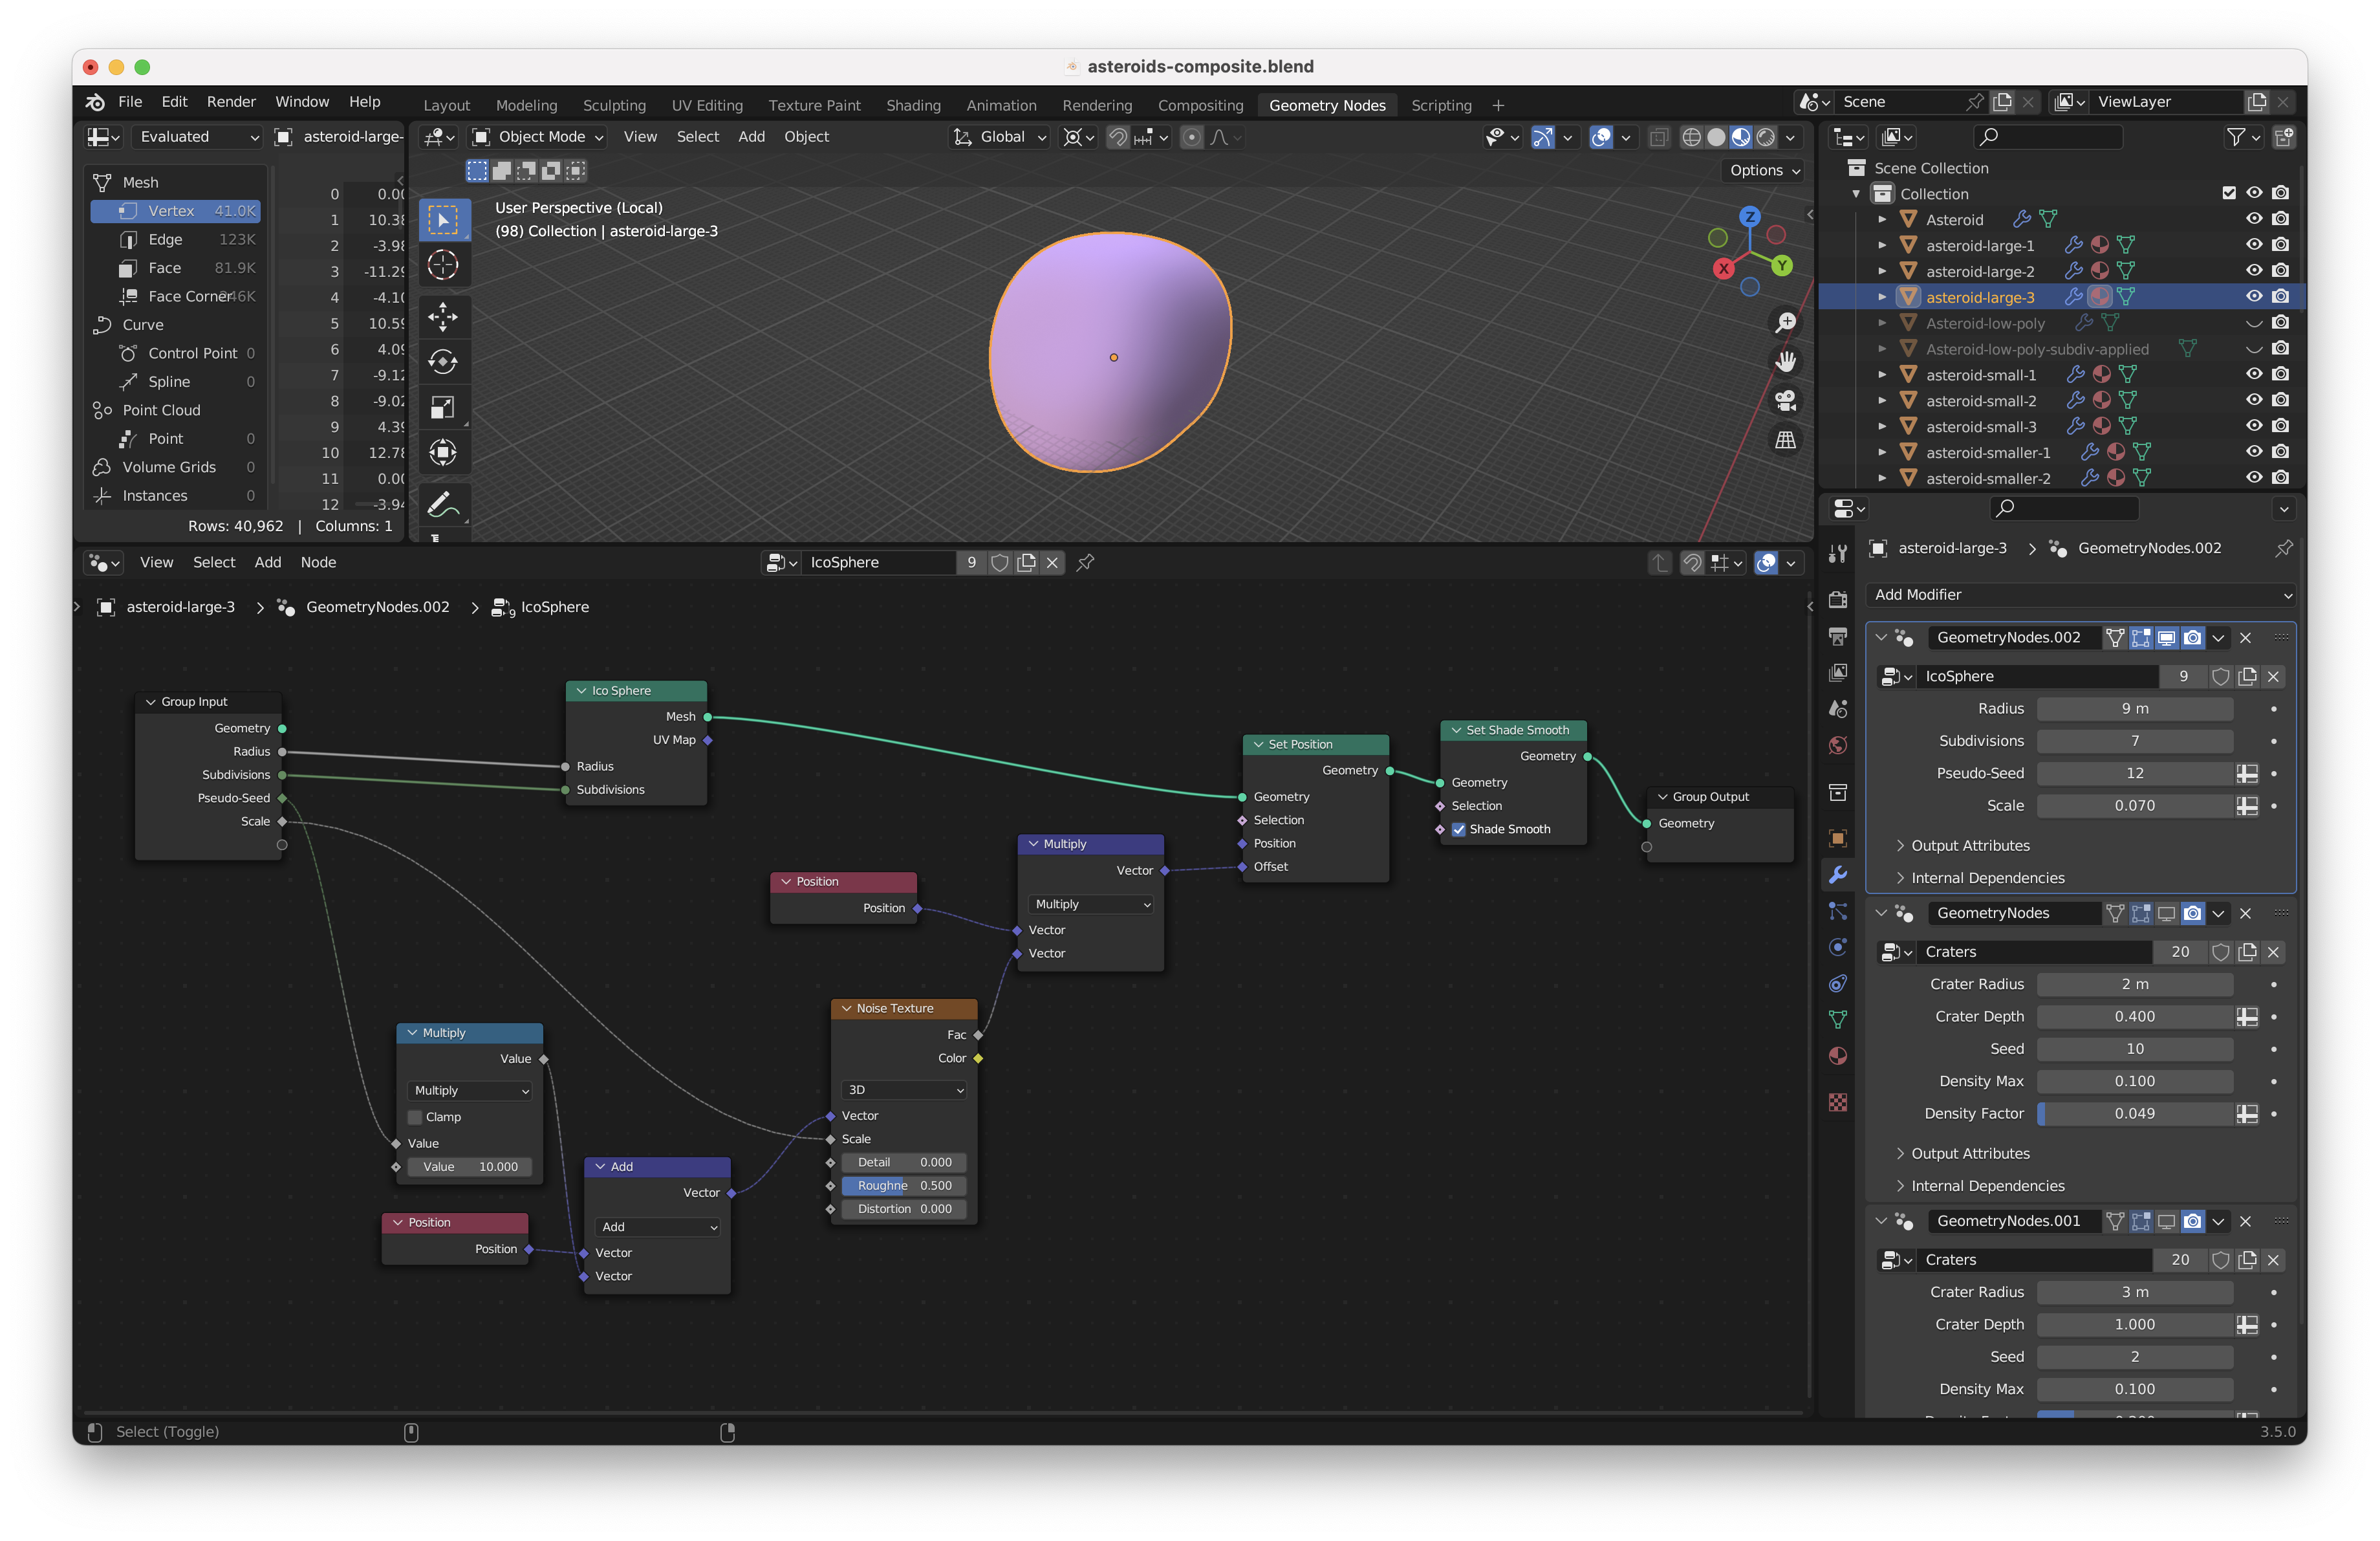
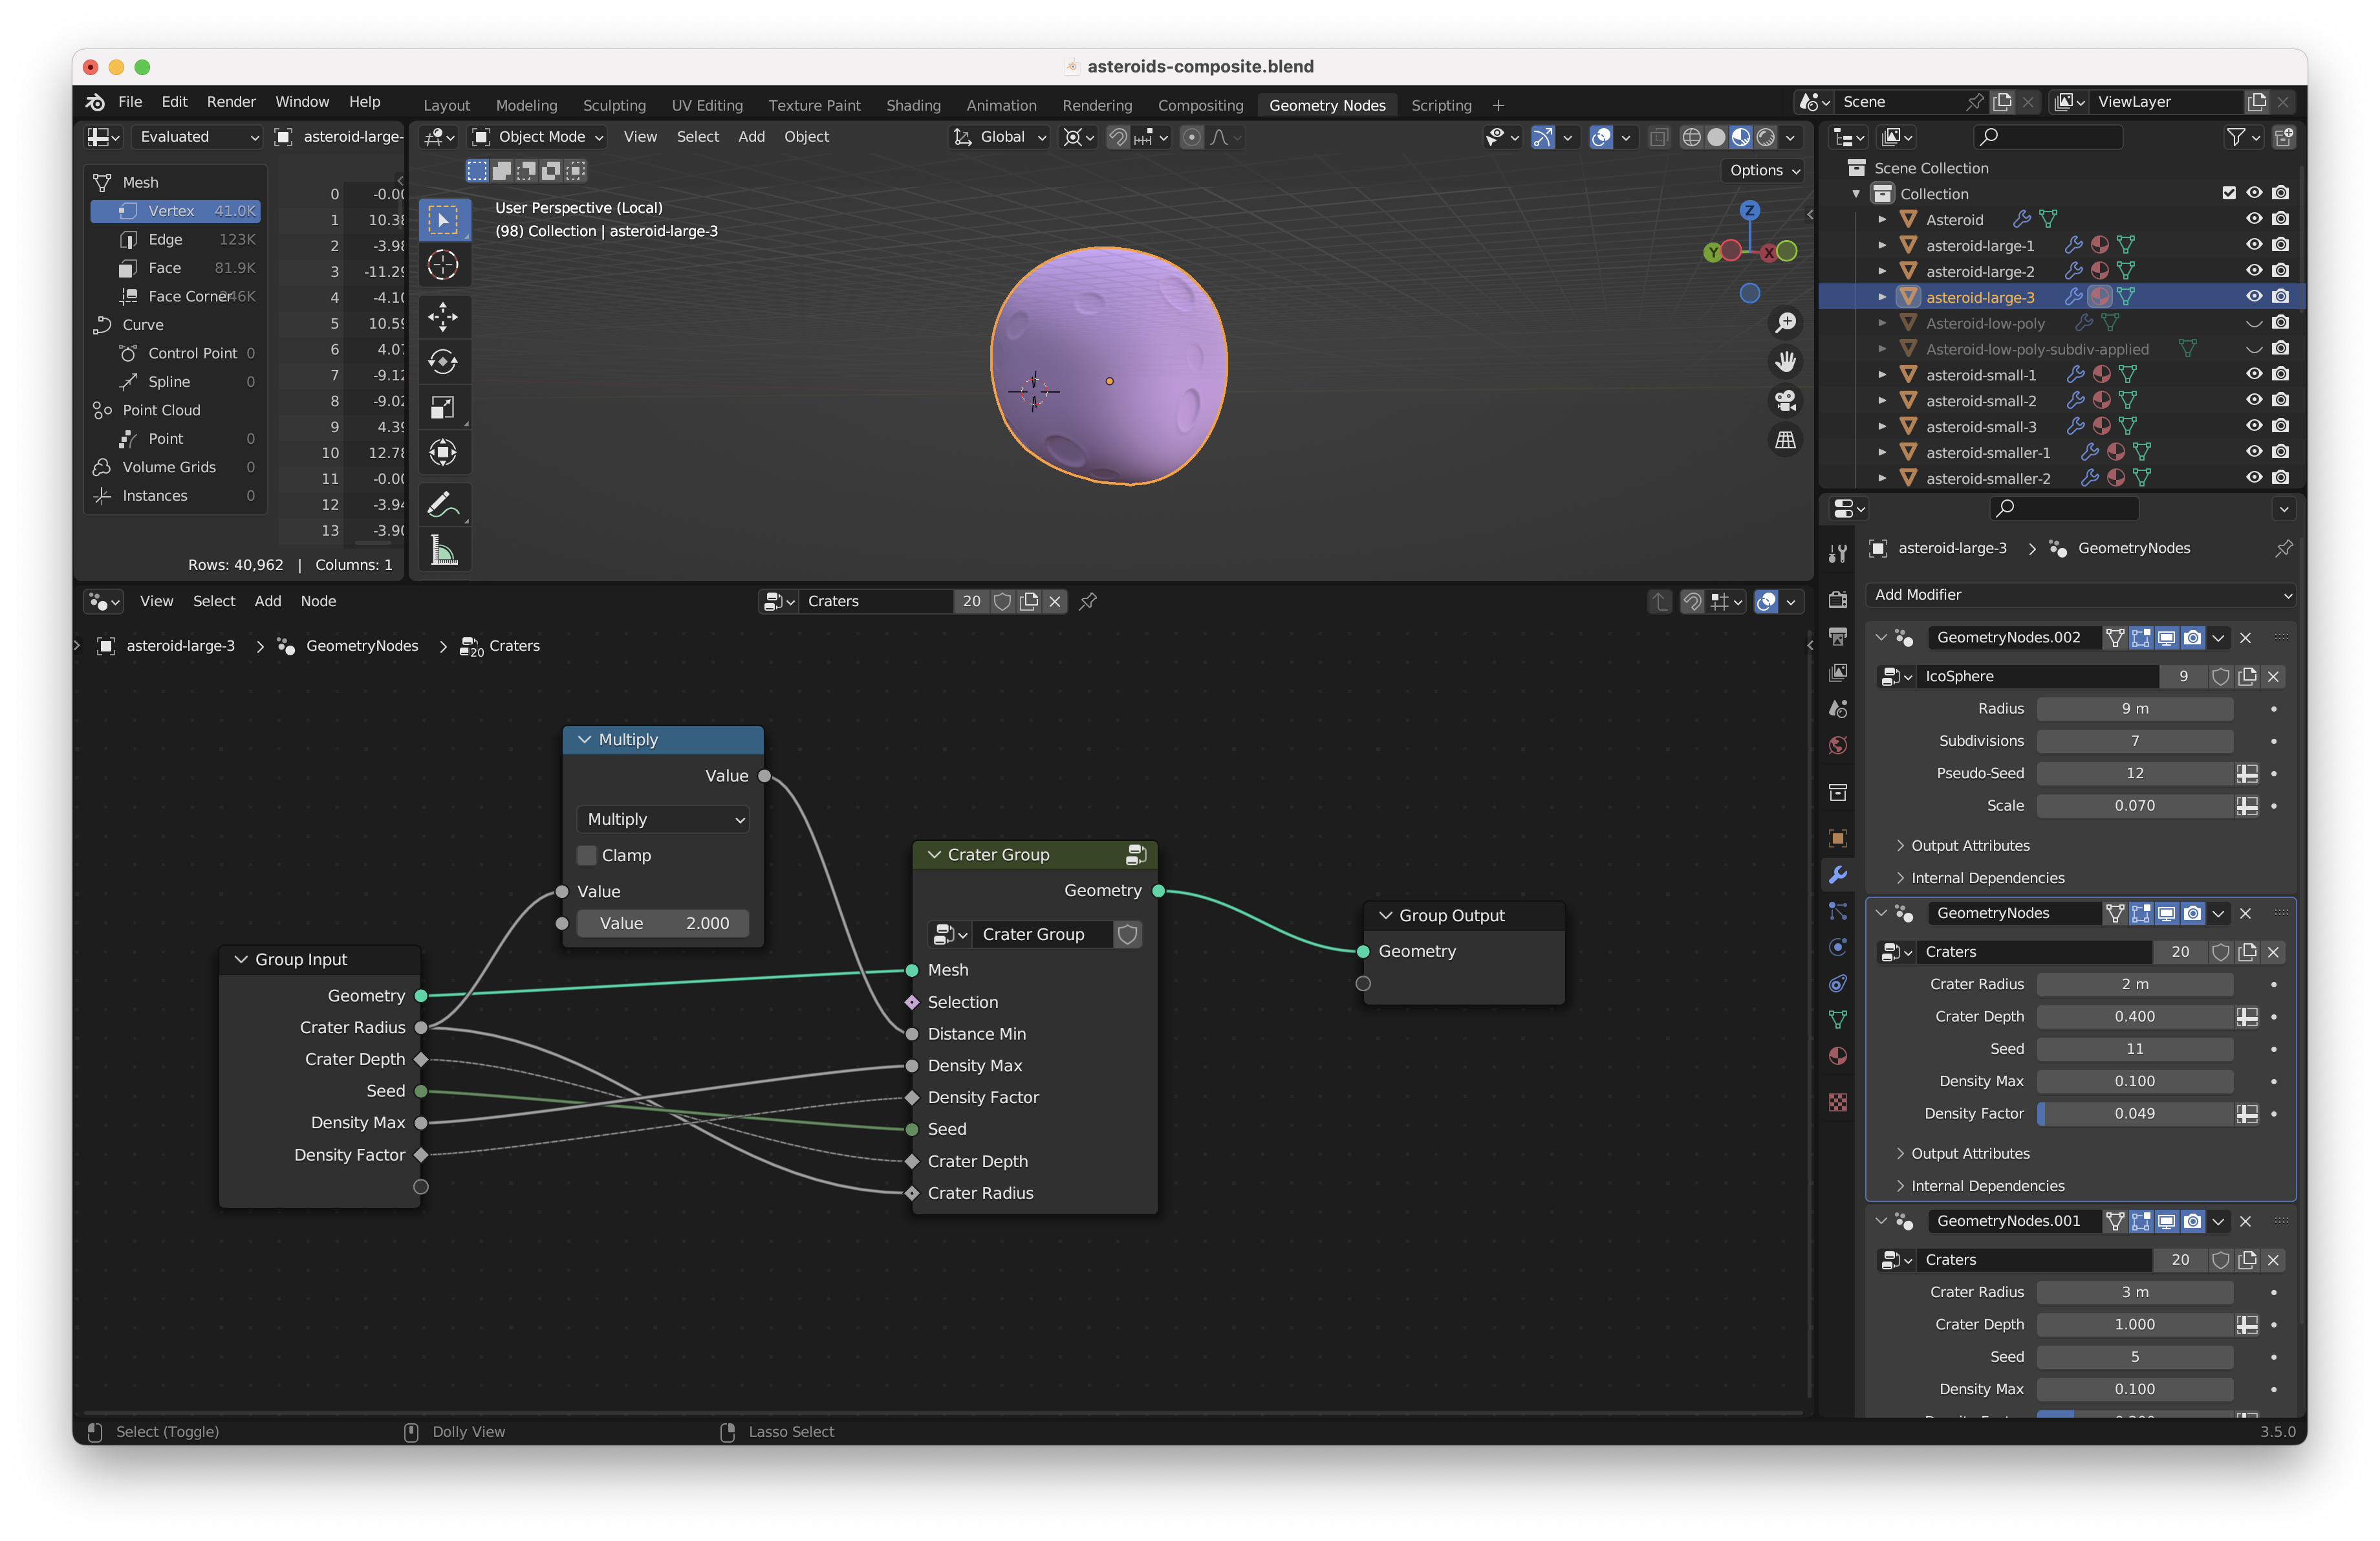
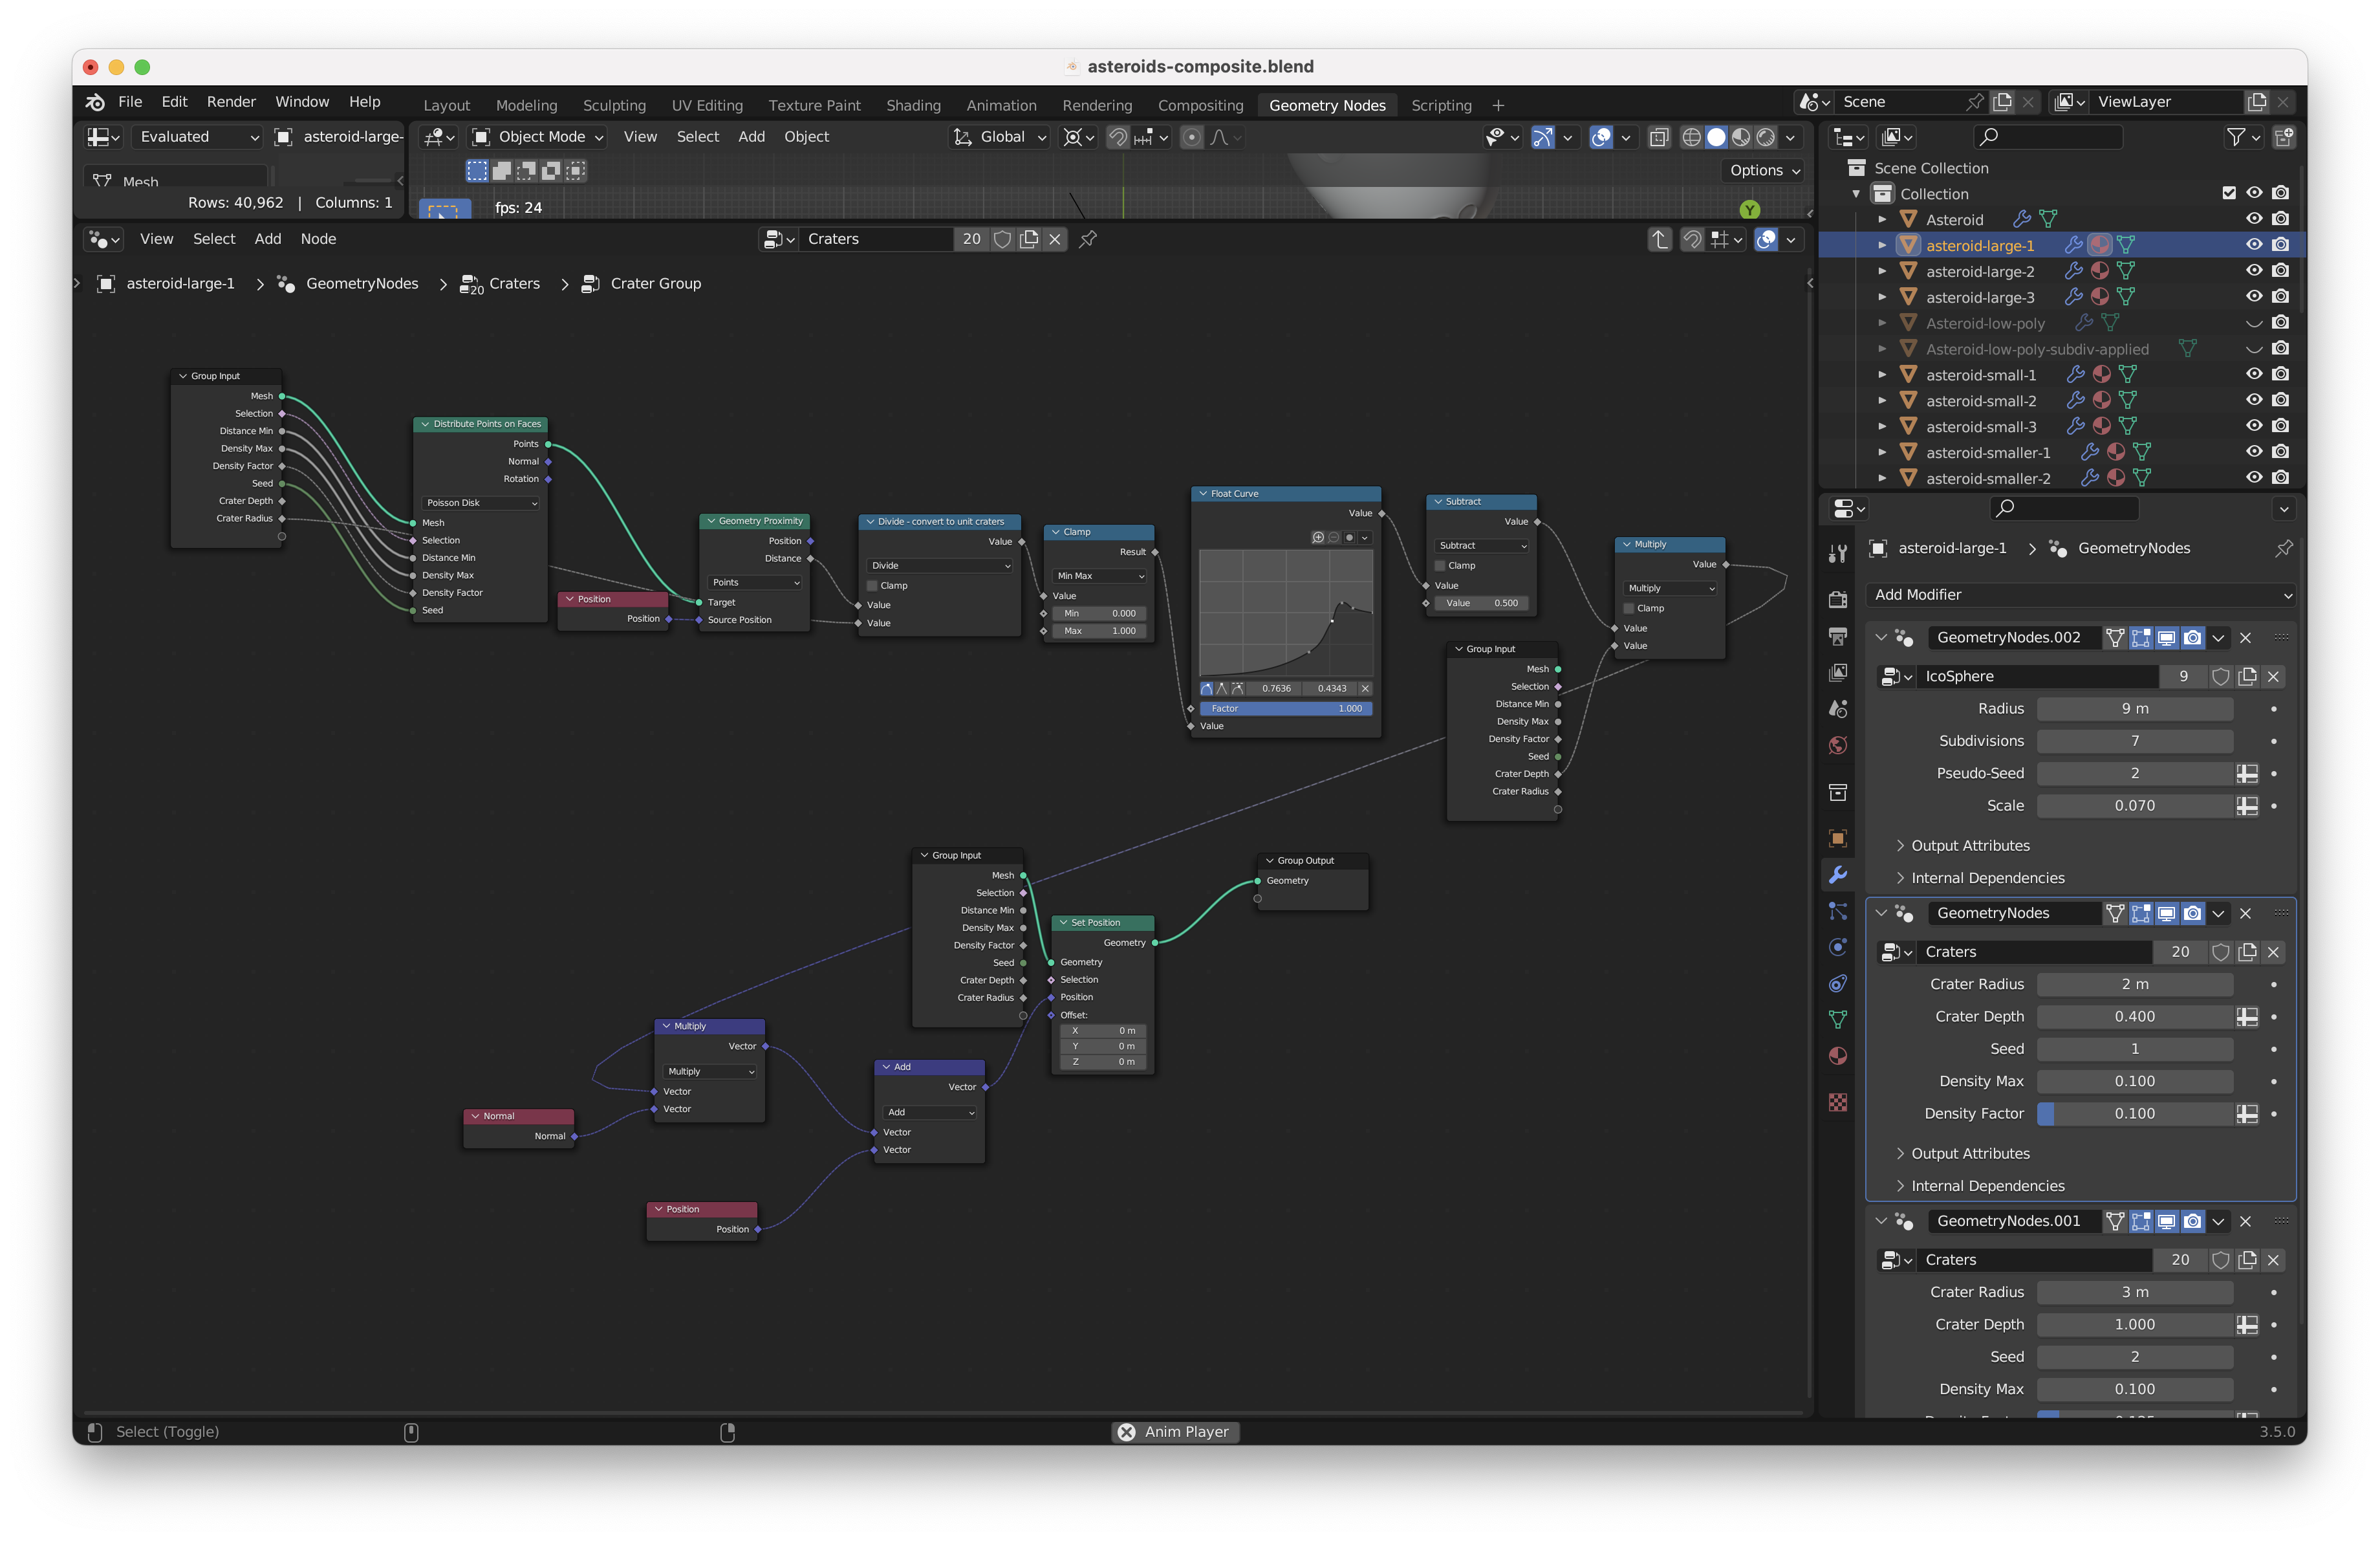
Nodes for craters
I followed this tutorial video but used the following simplifications.
- I used the new Geometry Proximity Node which makes it much easier to compute the distance between any point and the center of a crater. Note: The Transfer Attribute node used in the YouTube tutorial has been removed in Blender so you may need the Geometry Proximity Node alternative anyway.
- Instead of having the same Geometry Nodes modifier generate all craters, I applied the same nodes multiple times. This made the nodes easier to write and gave me more fine-grained control.
Here's what the final Geometry Nodes ended up looking like:
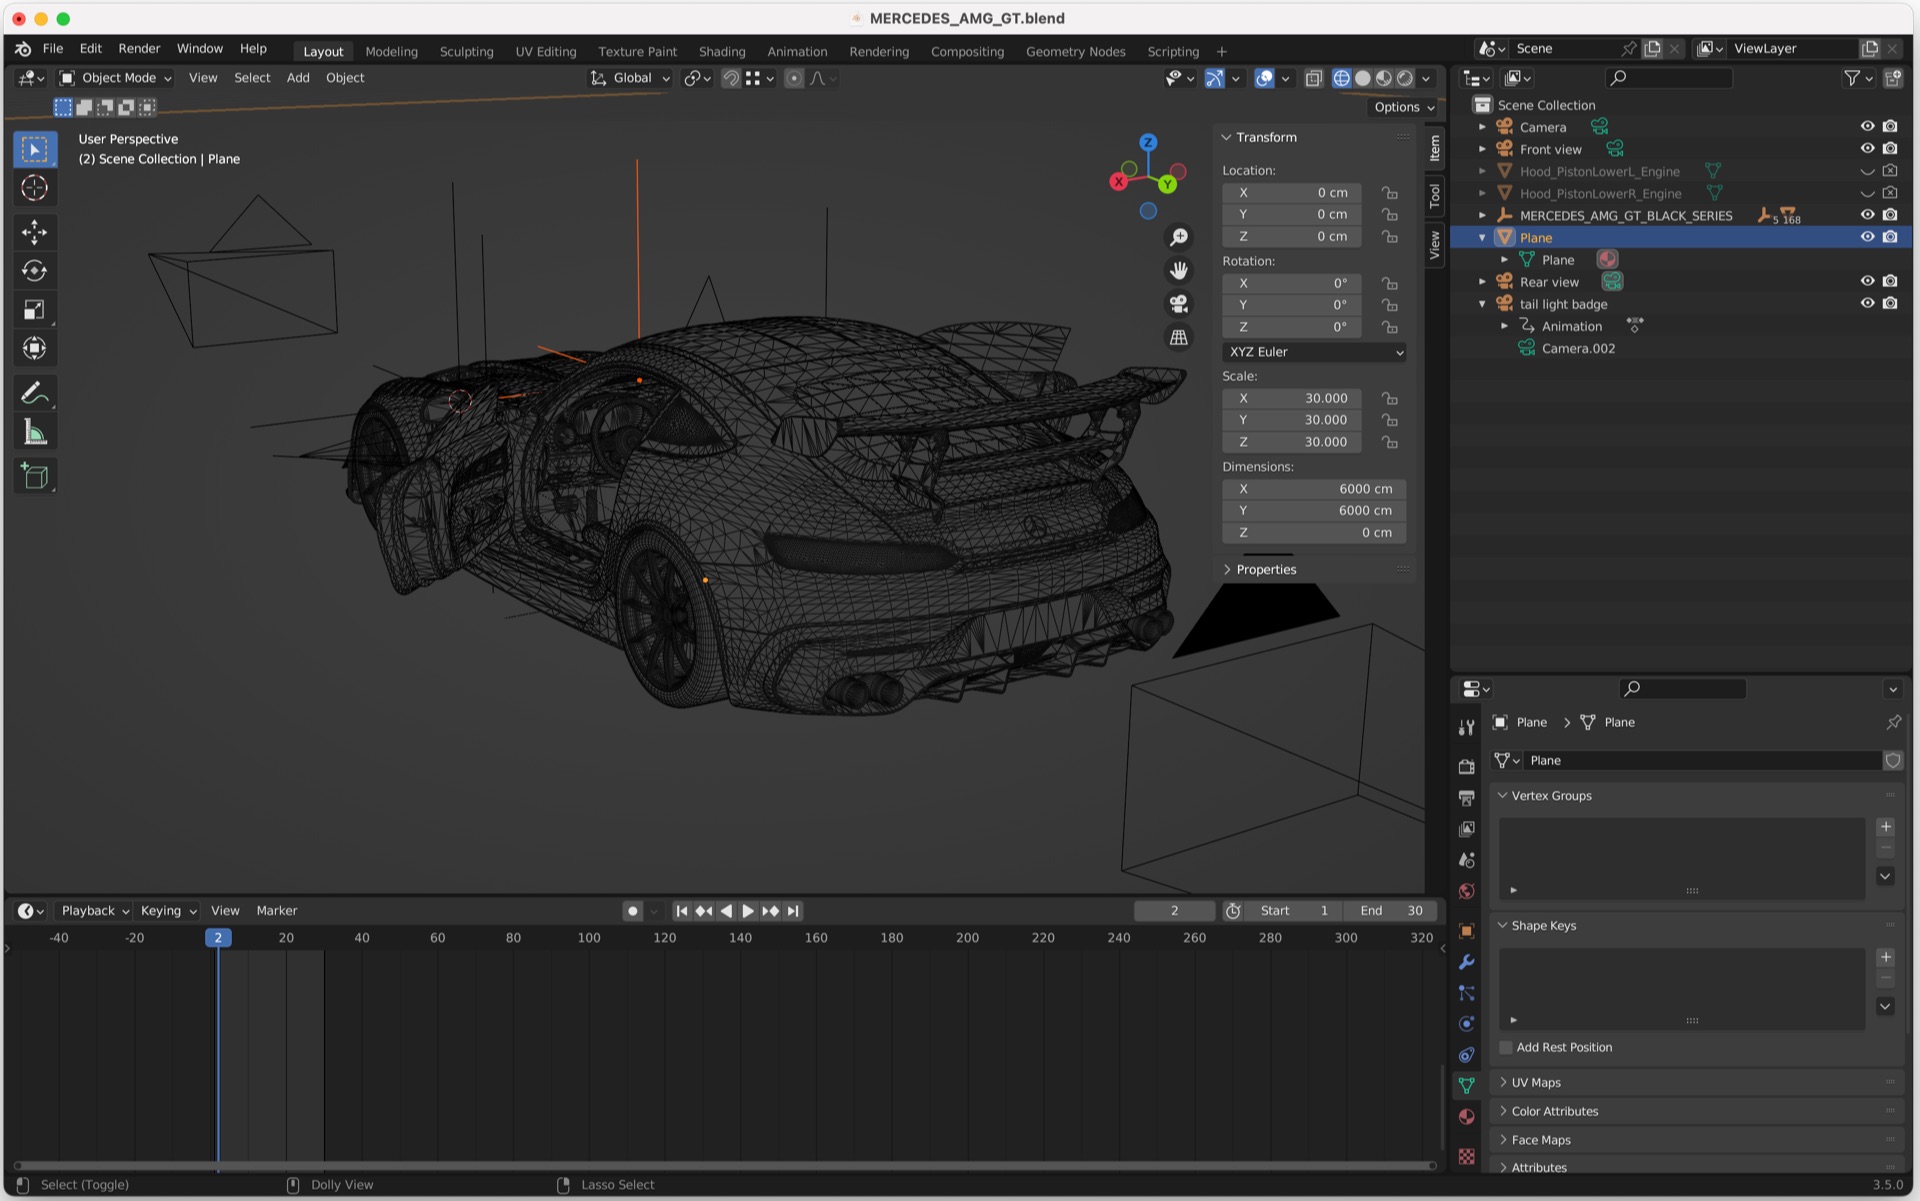
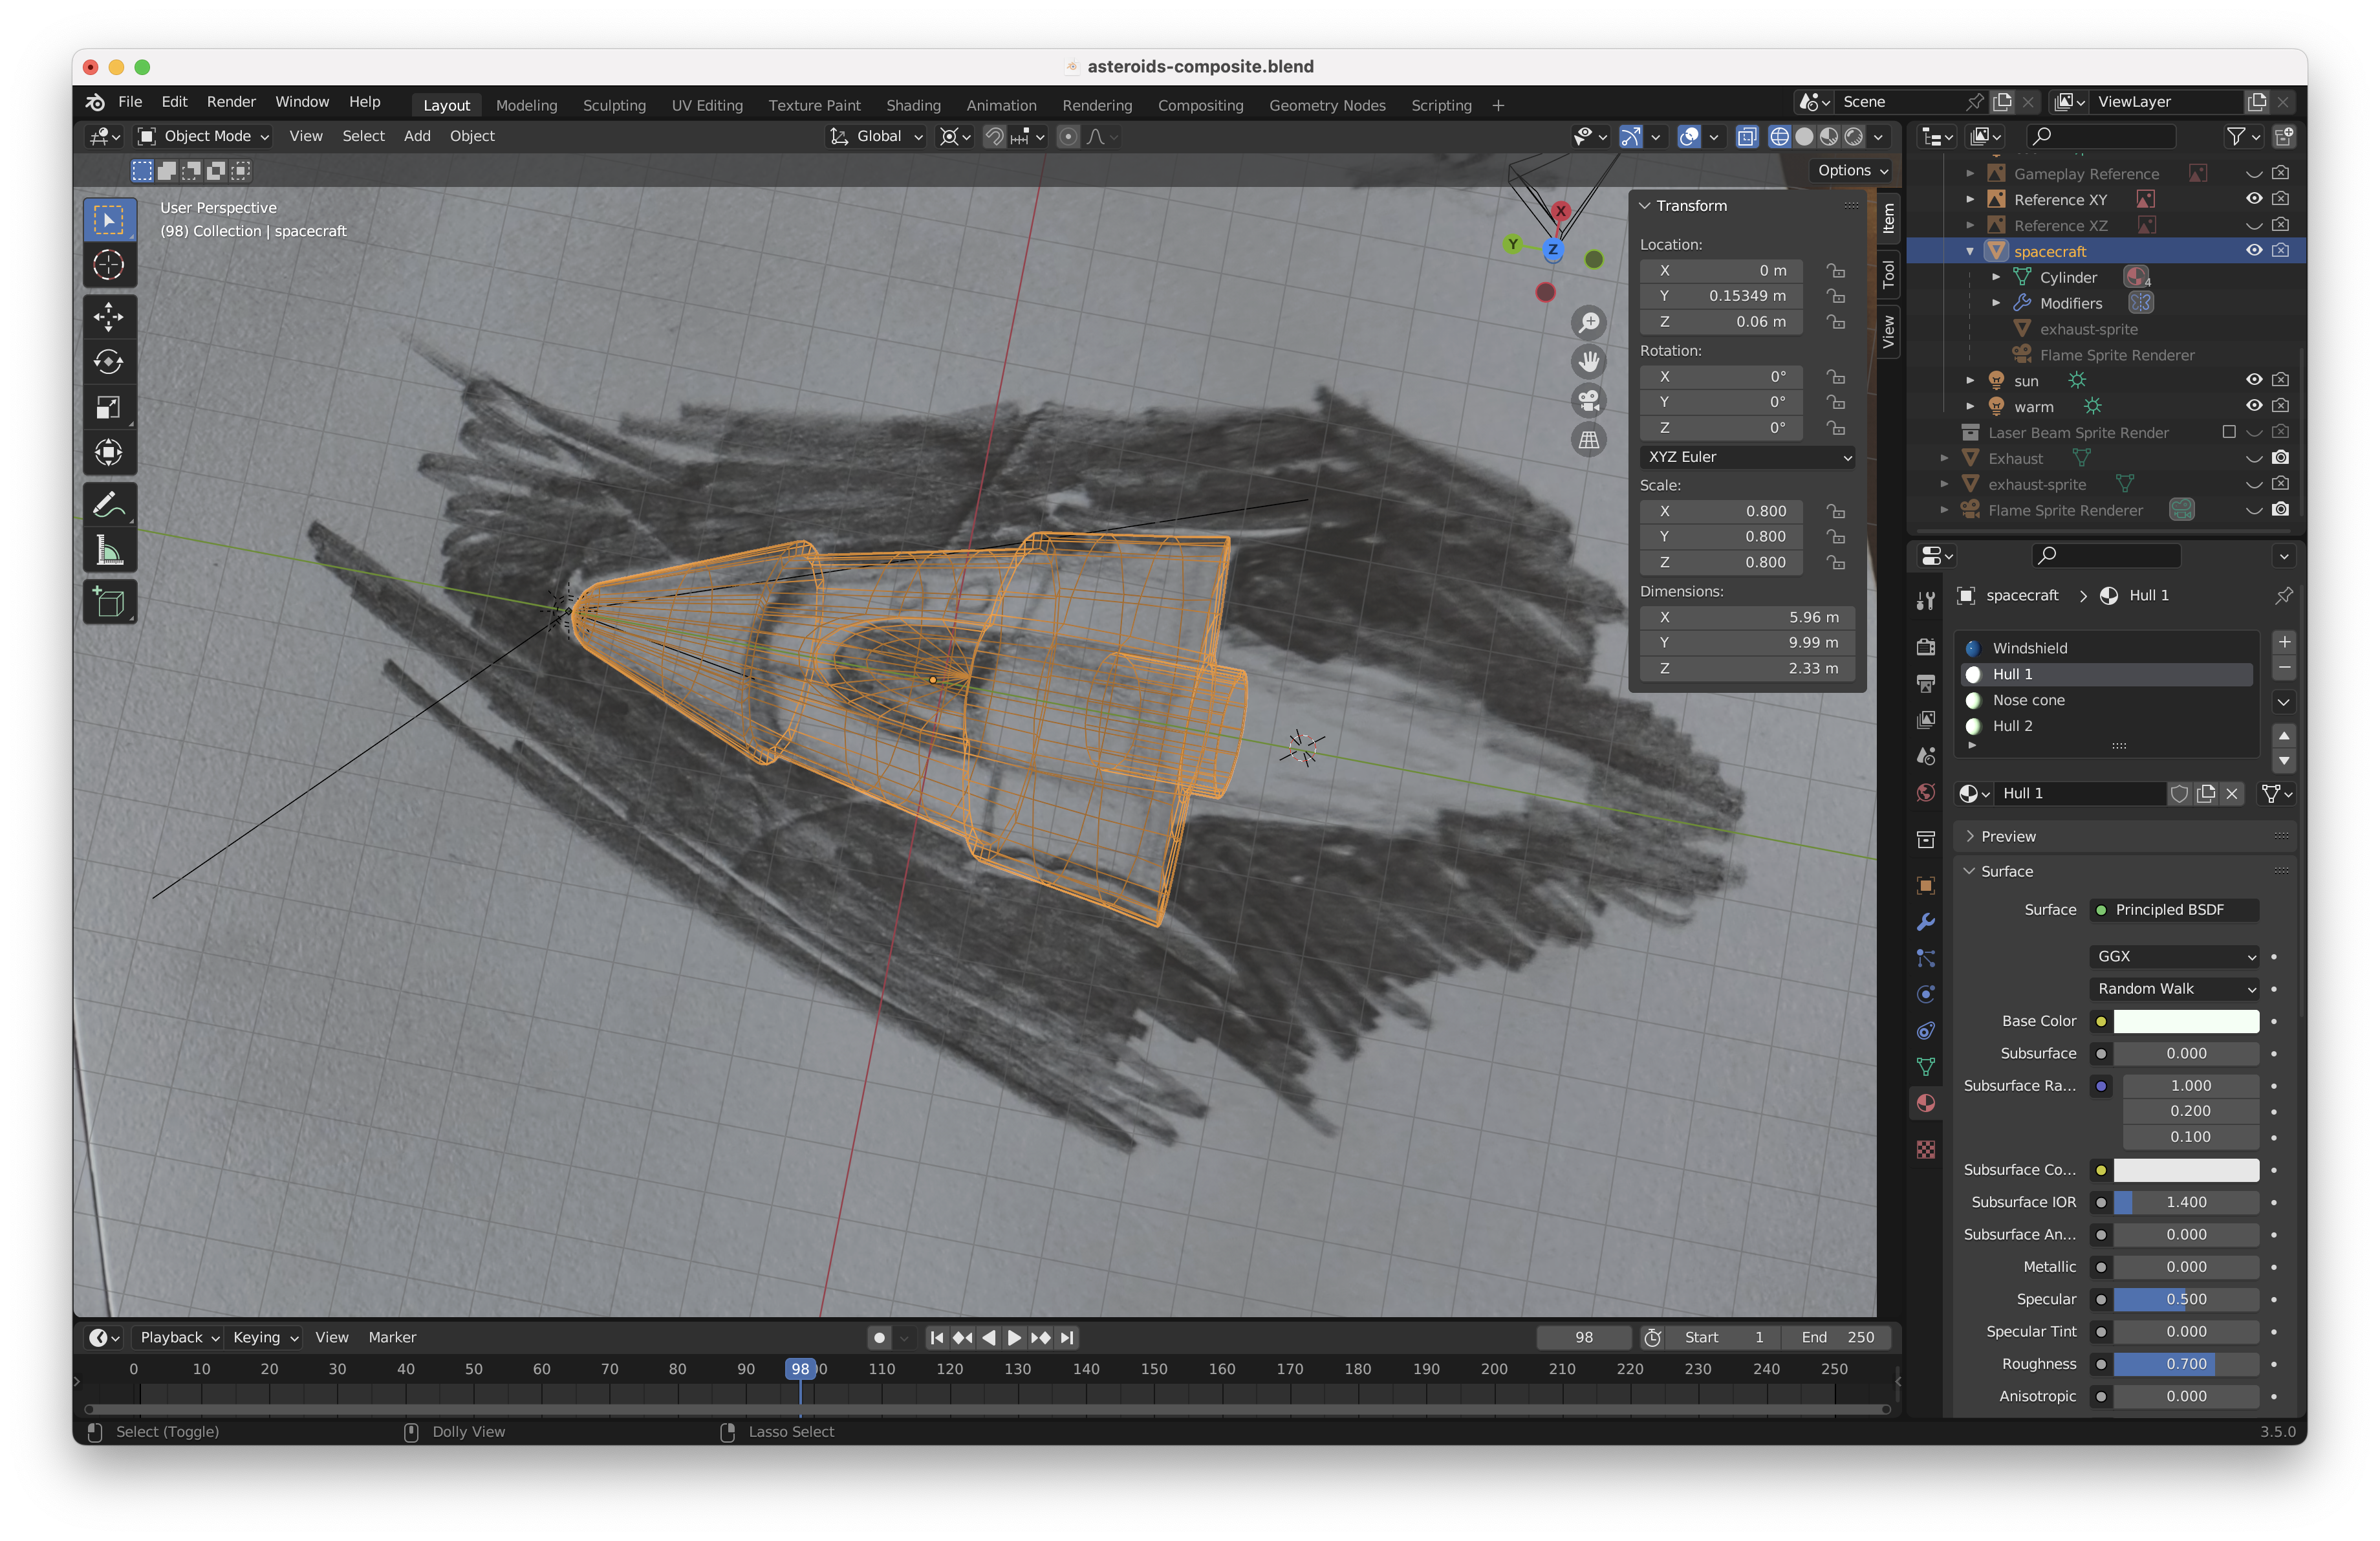
Modeling the spacecraft
This was pretty straightforward so I won't go into detail. I rough sketched a basic spacecraft whose silhouette is inspired by the original Asteroids craft. I resized, extruded, and added edge loops to a cylinder until I got the desired shape. I used a boolean operation with a stretched quarter sphere to add the cockpit. After applying the boolean modifier, I manually cleaned up the topology. The main goal was to keep the topology clean so I could reduce the poly count by removing unnecessary edge loops in the final model.
Rendering exhaust and laser sprites
Coming Soon
Baking normal maps
Coming Soon